
#棉花娃製作
棉花娃製作小故事 19 - 長鬢角(下)
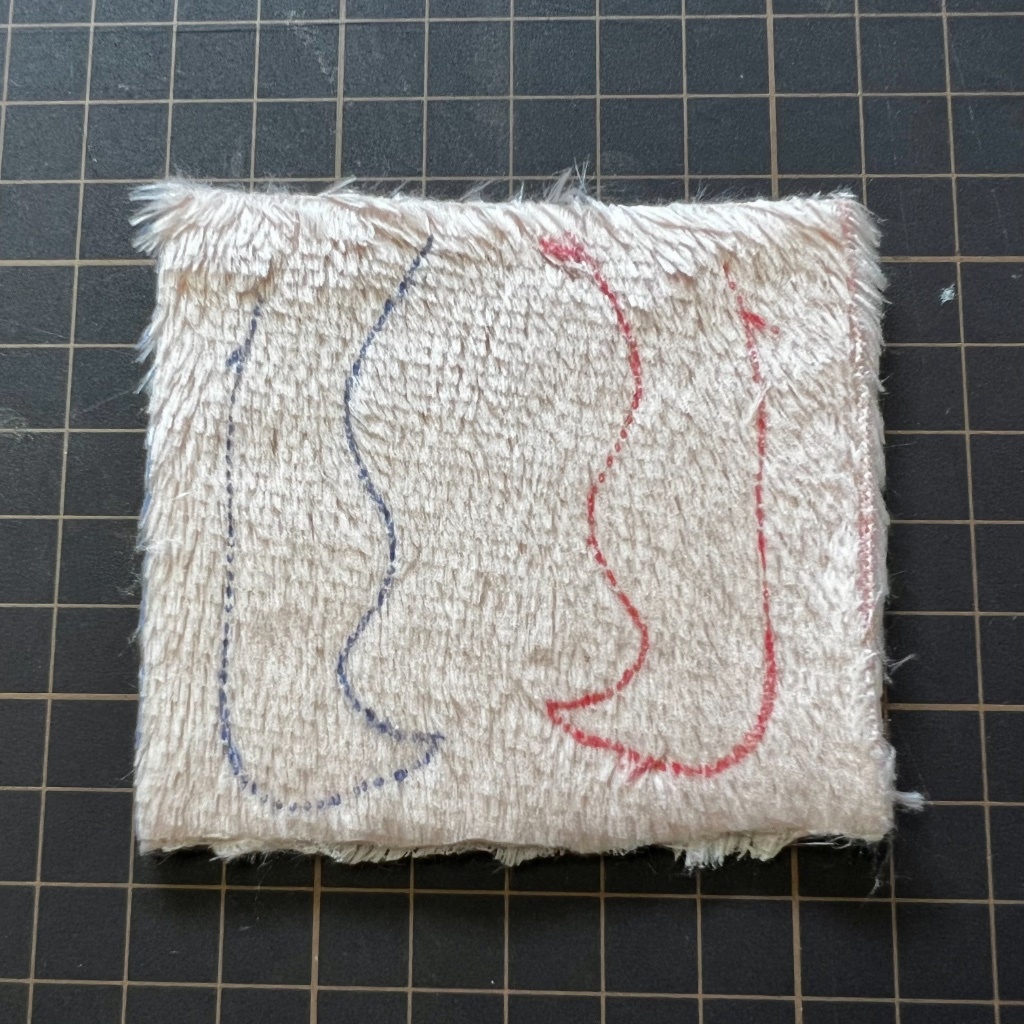
4.描繪版型,因為5mm布不好畫,可以使用點畫的方式。
特別註明,一般裁布是從背面畫線,但是這塊是雙面貼合的,所以哪一面畫都可以。
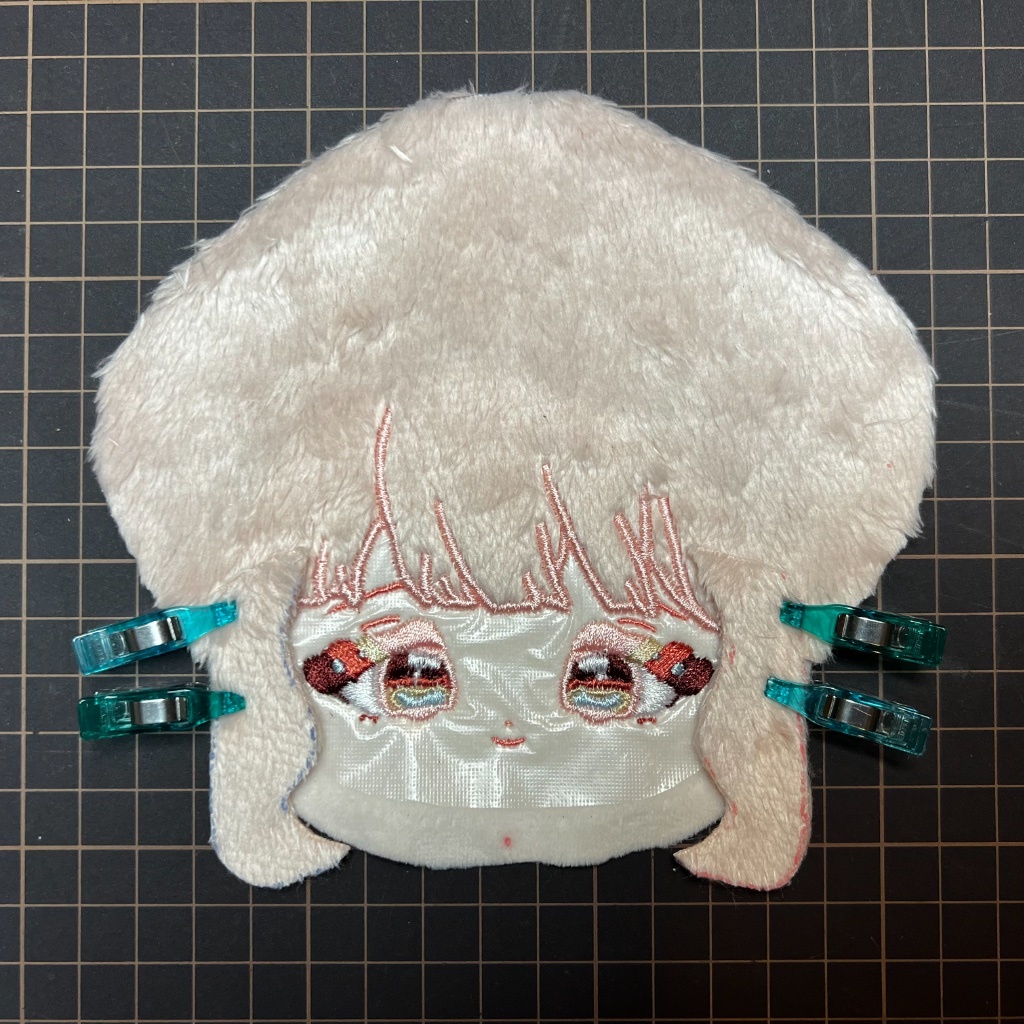
5.裁下以後,對位置,用雙面膠假固定或夾子固定,這邊是對稱髮型,注意不要有高低差。我用切割墊的尺寸來對位置。
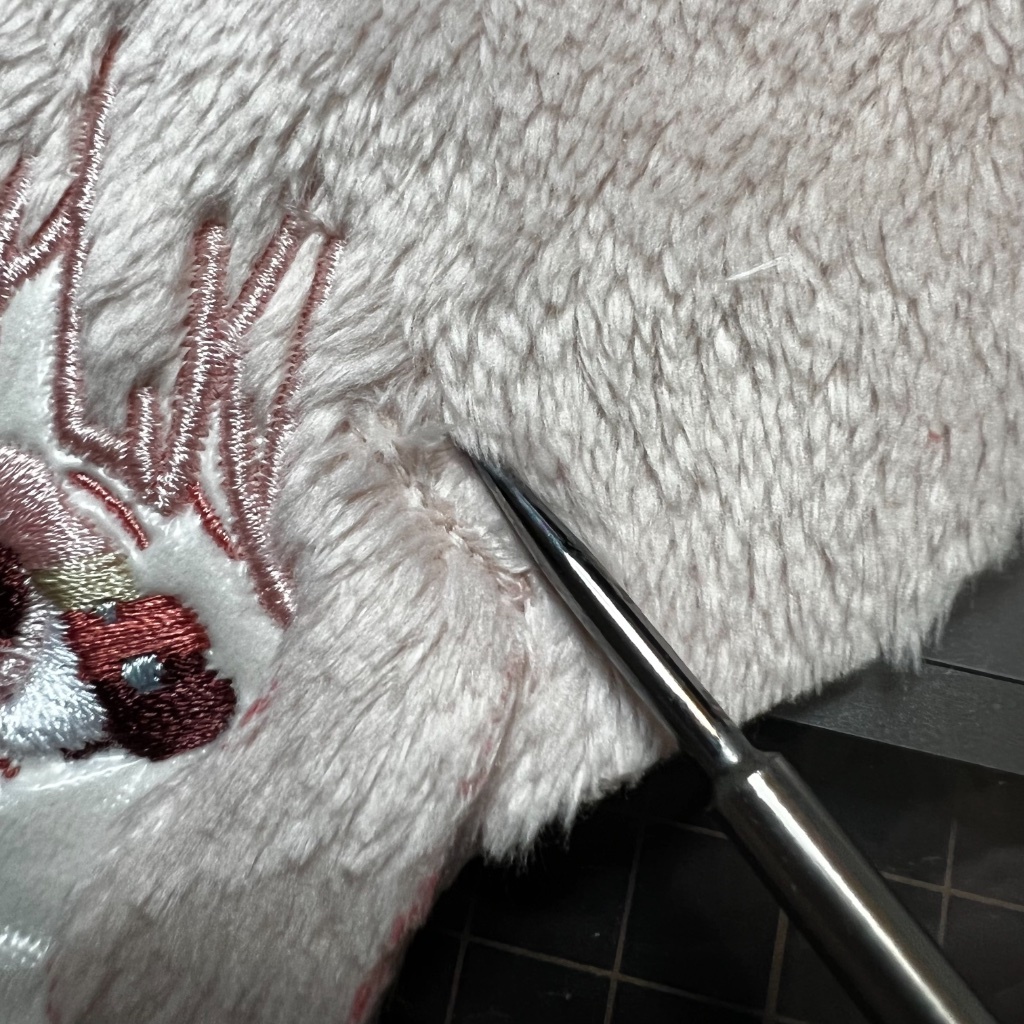
6.縫合技巧:
一樣用回針縫。為了正面看不到縫線,建議離邊緣大約3mm,用錐子把毛翻起來再縫,縫好後把毛翻下來,就看不到縫線了喔。
7.瀏海完成,美♥️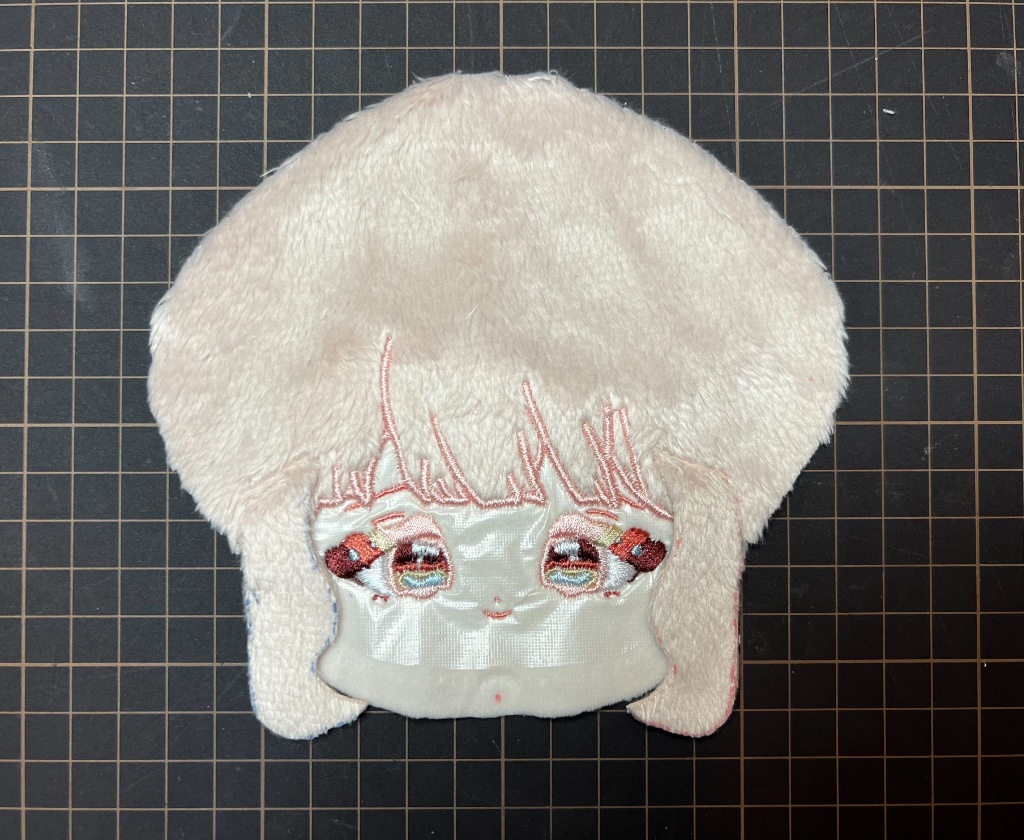
棉花娃製作小故事 19 - 長鬢角(下)
4.描繪版型,因為5mm布不好畫,可以使用點畫的方式。
特別註明,一般裁布是從背面畫線,但是這塊是雙面貼合的,所以哪一面畫都可以。
5.裁下以後,對位置,用雙面膠假固定或夾子固定,這邊是對稱髮型,注意不要有高低差。我用切割墊的尺寸來對位置。
6.縫合技巧:
一樣用回針縫。為了正面看不到縫線,建議離邊緣大約3mm,用錐子把毛翻起來再縫,縫好後把毛翻下來,就看不到縫線了喔。
7.瀏海完成,美♥️

